
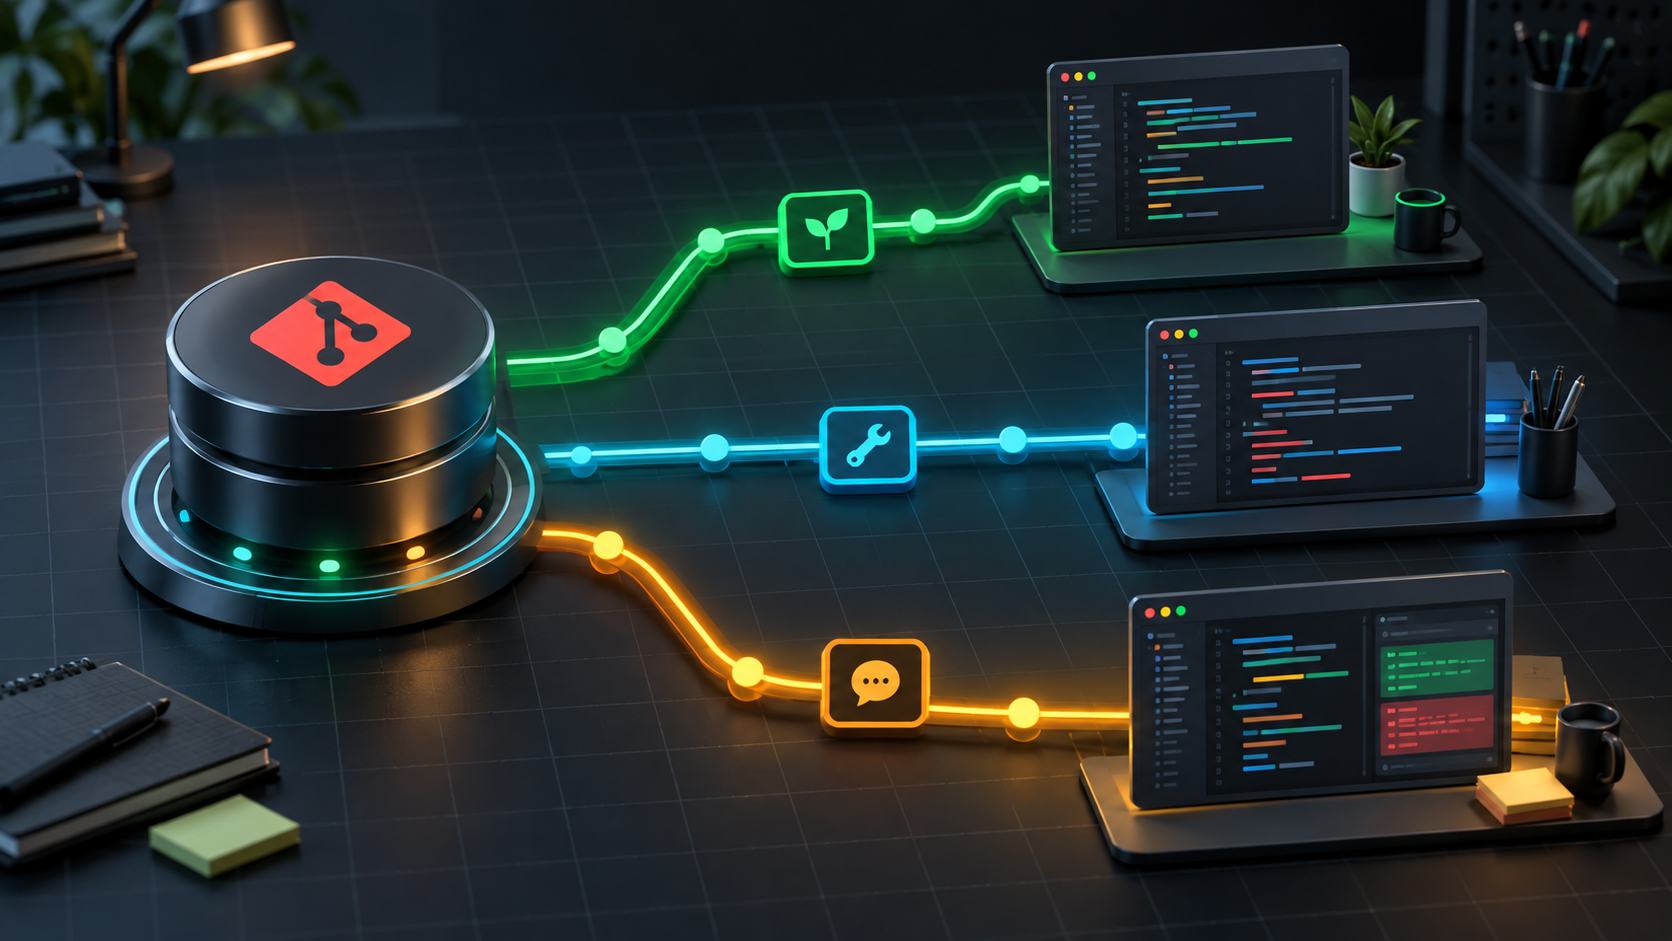
After several task switches, a stash list may contain unfinished changes with similar descriptions. Restoring the newest entry does not guarantee that you are resuming the right task. Inspecting it first helps avoid mixing unrelated work.
1. Establish your current state
git status --short
git branch --show-current
git stash list
Review the branch and existing edits before choosing an entry. If current work is not safely preserved, stop and protect it using your team's workflow. Do not use reset or clean merely to make the directory look tidy.
For example, you may need a search-filter change while the newest stash belongs to a registration form. The branch description is a clue; filenames and the patch provide better confirmation.
2. Inspect filenames, then the patch
git stash show --stat 'stash@{0}'
git stash show -p --include-untracked 'stash@{0}'
The Git stash manual documents show for inspection, -p for patch output and --include-untracked for untracked files recorded in the stash. It cannot recover files that were never saved there.
Replace zero with the entry you identified. Quote the reference to avoid special-character interpretation by the shell. These inspection commands do not apply changes to working files.
Compare the intended feature, related configuration and tests. An entry containing the right source file may still include experimental configuration from another task.
3. Choose apply or pop deliberately
apply retains the stash entry. pop removes it after successful application, but keeps it if conflicts occur. To review the result before removing the saved entry, consider apply:
git stash apply 'stash@{0}'This changes the working tree. First confirm the entry and destination branch and protect existing work. If restoring staged state matters, investigate --index; ordinary apply should not be assumed to recreate staging exactly.
Keeping the entry offers a useful checkpoint, not an invitation to repeatedly apply the same changes. Read the command result and inspect files before proceeding.
4. Stop retrying when conflicts appear
git status
git diff
git diff --cached
Do not repeatedly run pop or apply hoping conflicts disappear. Identify affected files, understand both sets of changes and resolve them according to the feature's intent. Avoid accepting every “ours” or “theirs” change merely to remove conflict markers.
Run relevant lint and tests afterward. Successful patch application does not prove that the restored behavior remains correct against current code.
5. Remove saved work only after verification
Consider removing an entry only after necessary changes have been reviewed and durably preserved. Recheck the list immediately before cleanup because adding or removing entries can change indices. Do not clear the entire list to dispose of one completed task.
- Confirm the repository and destination branch.
- Review both current edits and stashed content.
- Check for new files required by the feature.
- Resolve conflicts and run appropriate tests.
- Do not treat a stash on one machine as an off-machine backup.
These commands describe a workflow for your repository, not a report of recovered production data. Inspect first, apply deliberately and verify afterward to keep temporary work manageable.
No comments yet. Be the first to share your thoughts.